Threat Guide
Animal Hospital enemies guide
We treat this page as the core threat roster: 8 widely documented enemy or hazard types that repeatedly show up across current community guides. The most important distinction is simple: only some threats are weapon problems, while others are awareness, item, or camera-discipline problems.
All monsters guide
Open this when the search is really for the whole monster roster and the short rule for each one.
Enemy rules
Open this when the main question is what to shoot, what not to shoot, and what needs item logic instead.
Stalker guide
Open this when one sanity-draining hallway threat is still causing more wipes than the rest of the roster.
Bed Monster rescue
Open this when the real enemy problem is a timed patient rescue and not a weapon choice.
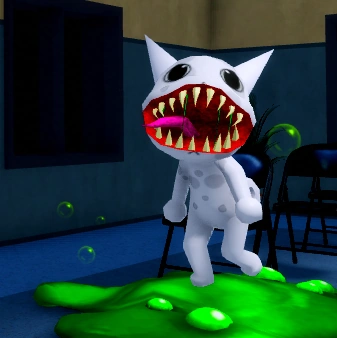
Skinwalker
Threat: A lethal impostor anomaly that turns a bad intake call into an active hospital-wide combat emergency.
Counter: Use the gun or taser once it reveals itself and clear it before resuming treatment. This is one of the clearest shoot-on-sight threats.
Wiki reference image

Head Banger
Threat: A shift 2-5 desk-side anomaly that blocks the check-in window and wastes sanity if you use the wrong response.
Counter: Give it Coffee first. Coffee removes it cleanly, while forcing it to leave costs 20 sanity and tasing costs 15 sanity.
Wiki reference image
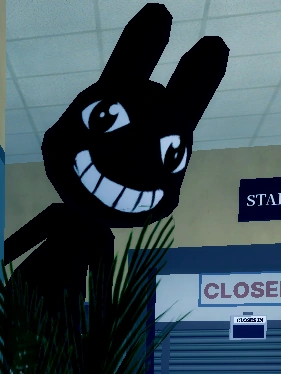
Hallway pursuit threat
Stalker
Threat: A tall hallway predator that drains sanity through line-of-sight pressure and punishes players who keep staring at it.
Counter: Round corners carefully, keep your camera low when needed, and break eye contact instead of freezing in front of it.
Wiki reference image
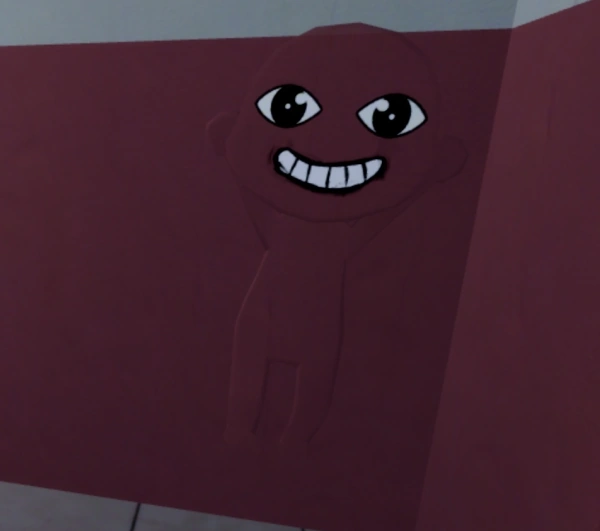
Wall-camouflaged anomaly swarm
Hiders
Threat: A wall-camouflaged swarm threat that steals the treatment item you are holding if it hits you.
Counter: Spot them before contact, then use extinguisher, taser, gun, or raw movement to avoid getting clipped while carrying medicine.
Wiki reference image
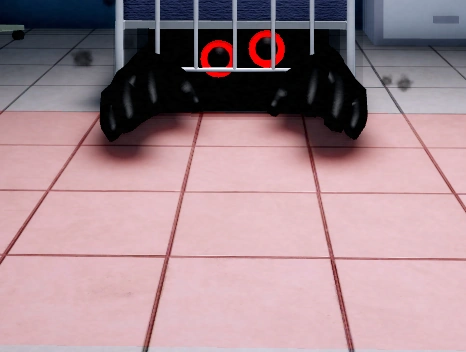
Bed Monster
Threat: A patient-room anomaly that drags patients under the bed and kills them if you do not respond quickly.
Counter: Bring Maple Syrup to the room and walk into the red interaction box beneath the bed to force the patient back out safely.
Wiki reference image
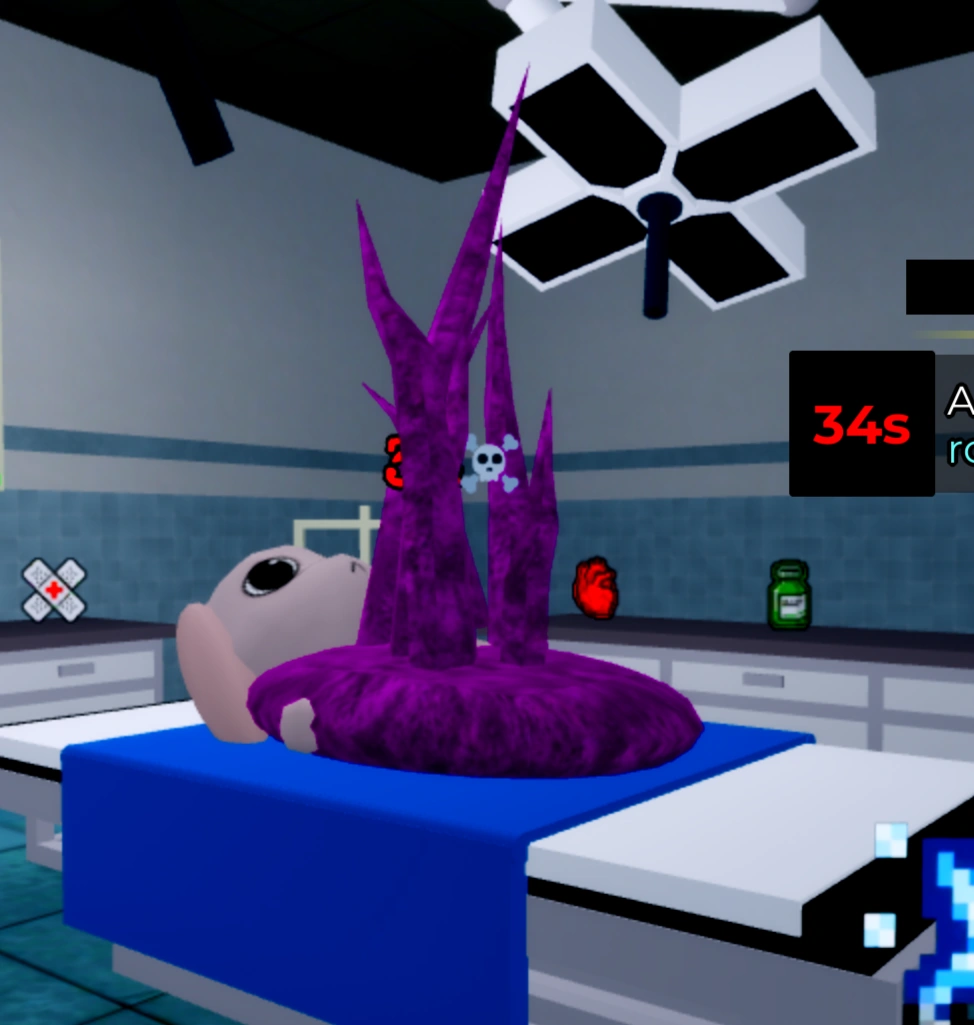
Also referred to as Surgery Monster in some fan guides
Surgery Tendril
Threat: A Room 8 emergency anomaly that kills the patient if you solve it with force instead of the surgery interaction.
Counter: Use the surgery-room mini-game and cut the tendril correctly. Do not shoot, taser, or coffee the patient.
Wiki reference image
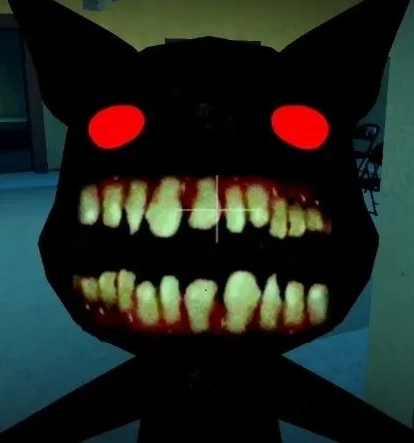
Camera Figure
Threat: A CCTV-only jumpscare anomaly tied to broken camera feeds rather than a normal roaming attack.
Counter: Do not stay zoomed in on a broken feed. Switch cameras or repair your scan path instead of lingering on the image.
Wiki reference image
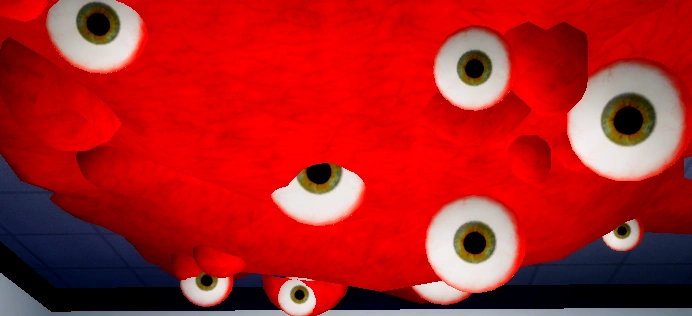
Sometimes grouped with “Don’t Look Up” style hazards
Mass of Eyes
Threat: A ceiling-mounted eye cluster that drains sanity if you look up into it for too long.
Counter: Follow the “don’t look up” rule and use Eyedrops if your run needs a safer sanity buffer afterward.
Wiki reference image