Do this immediately
Follow the specific room or item rule instead of using the normal combat reflex.
Enemy Guide
Follow the specific room or item rule instead of using the normal combat reflex.
Do not shoot, taser, or brute-force the problem unless the enemy page explicitly says that is the intended answer.
These enemies punish players who react like every scary threat should be solved with force.
Most enemy wipes happen because the team is juggling too many things at once when the threat appears.
Good enemy handling tends to be one clean action, not a long chain of second-guesses.
Repeated encounters usually point to a route, item, or intake problem that another guide can fix better.
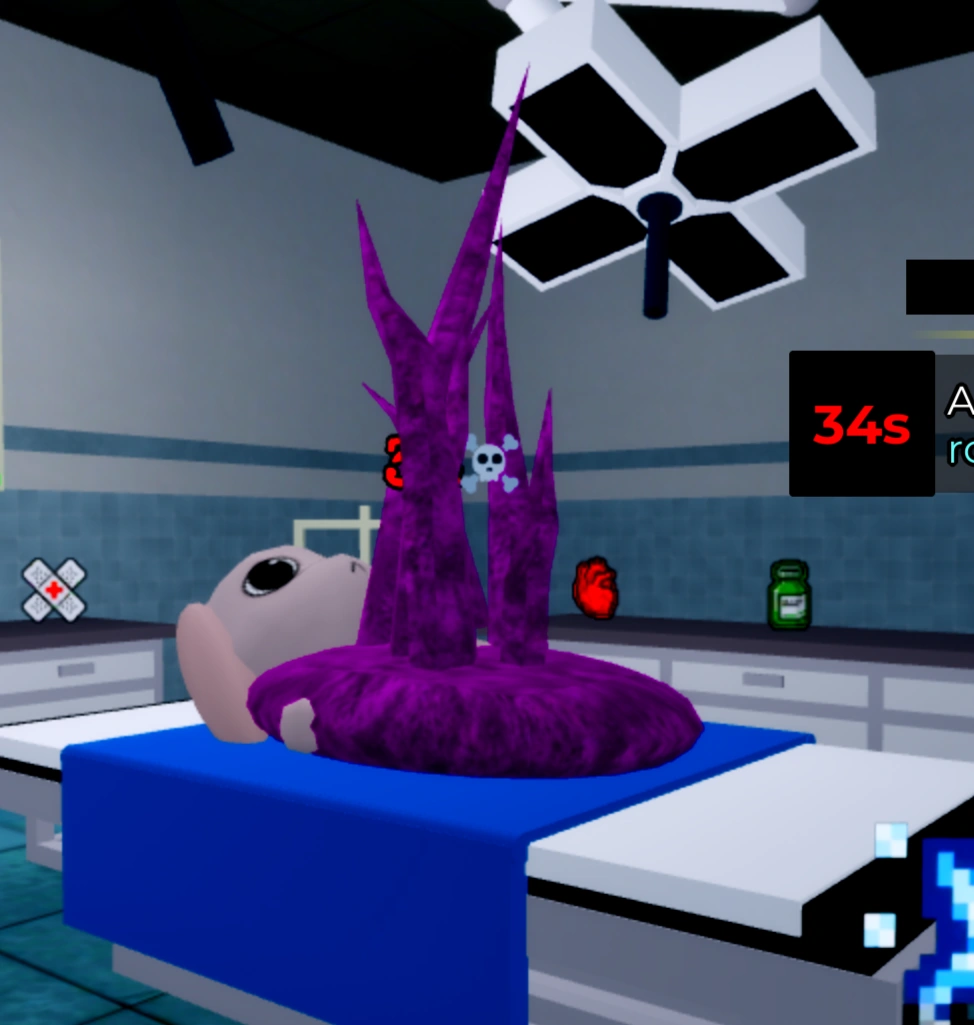
Threat reference art
Current wiki reference image for this specific threat, used to avoid mismatching one enemy with another.
A Room 8 emergency anomaly that kills the patient if you solve it with force instead of the surgery interaction.
Use the surgery-room mini-game and cut the tendril correctly. Do not shoot, taser, or coffee the patient.
The fandom notes tie this threat to Room 8 and a timed surgery sequence. You have to trace and sever the tendril correctly; using normal crowd-control tools causes failure instead of fixing the room.
Encounter context
Enemies become much deadlier when you are already juggling sanity, room routing, and event timers. Good play is usually about composure, not just reaction speed.
Community guides do not always use exactly the same label for this threat. This page follows Surgery Tendril, while also noting the alternate phrasing: Also referred to as Surgery Monster in some fan guides.
Do not use taser, gun, or Coffee as your first answer.
If this threat keeps wiping you
Best next step
Give it Coffee first. Coffee removes it cleanly, while forcing it to leave costs 20 sanity and tasing costs 15 sanity.
Bring Maple Syrup to the room and walk into the red interaction box beneath the bed to force the patient back out safely.
Follow the “don’t look up” rule and use Eyedrops if your run needs a safer sanity buffer afterward.
Open the full enemy hub when you want the whole threat list instead of one encounter alone.
Useful when this threat becomes dangerous mainly because it overlaps with room pressure or timed emergencies.
Best follow-up when this enemy causes wipes because panic, hesitation, or bad recovery snowballs too fast.